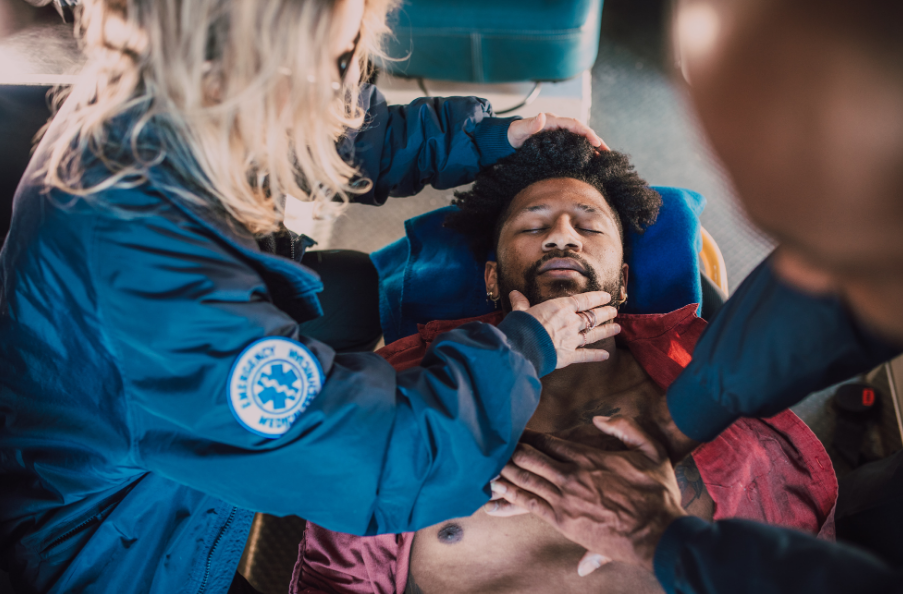
Finding time for training can be challenging. Between work, family responsibilities, school, and busy schedules, committing to a traditional classroom course isn’t always practical.
That’s why the American Heart Association’s blended learning courses have become a popular option for healthcare professionals, teachers, childcare providers, home health aides, and anyone needing CPR, BLS, or First Aid certification.
At RESQ & Arise Safety and CPR Training, we make completing your certification easy by offering flexible skills check-off appointments Tuesday through Friday. Complete the online portion at your convenience, then schedule a hands-on skills session that fits your schedule.
What Is an AHA Blended Learning Course?
The American Heart Association’s blended learning format combines online education with an in-person skills session.
Students first complete the online portion at their own pace from home, work, or anywhere with internet access. Once the online training is complete, students attend an in-person skills check-off session with an instructor to demonstrate the required hands-on skills and complete certification requirements.
Popular blended learning courses include:
- HeartCode BLS
- Heartsaver CPR AED
- Heartsaver First Aid
- Heartsaver First Aid CPR AED
This format provides the same American Heart Association certification while offering greater flexibility than a traditional classroom course.
Why Choose a Skills Check-Off Appointment?
Many students appreciate the convenience of scheduling a private or small-group appointment rather than attending a larger classroom course.
Our skills appointments are typically conducted one-on-one or in small groups, allowing students to receive personalized instruction and support.
During your appointment, you will:
- Demonstrate the required hands-on skills
- Work directly with an instructor
- Practice skills as needed
- Ask questions about real-life emergency situations
- Receive coaching and feedback
- Complete the requirements needed for certification
Many students find this format less stressful and more convenient than a traditional classroom environment.
Flexible Scheduling Designed Around Your Busy Life
At RESQ & Arise Safety and CPR Training, we offer skills check-off appointments Tuesday through Friday.
This allows students to complete the online portion whenever it is convenient and then schedule an appointment that works around work schedules, family commitments, clinical rotations, or other obligations.
Whether you need BLS for healthcare employment, CPR/AED certification for work, or First Aid training for your organization, blended learning allows you to complete training on your timeline.
Purchased Your Online Course Through RESQ & Arise?
If you purchase your American Heart Association online course through RESQ & Arise Safety and CPR Training, your skills check-off appointment is included with your registration.
There are no additional skills fees when purchasing the complete blended learning package through us.
We provide everything you need to complete your certification from start to finish.
Already Purchased Your Online Course Elsewhere?
No problem.
If you purchased your online course directly through the American Heart Association or another approved provider, we may still be able to complete your skills check-off appointment.
Our instructors can review your course completion certificate to verify that the online program meets American Heart Association requirements.
Once verified, you simply pay the skills check-off fee and schedule an appointment.
This option is ideal for students who have already completed their online coursework but still need the required hands-on evaluation to receive certification.
Training Solutions for Businesses and Organizations
Blended learning is also a great option for employers.
Many organizations purchase online courses for employees and allow staff members to complete the coursework at their convenience. Employees can then schedule individual skills check-off appointments that fit their work schedule.
This approach offers several benefits:
- Reduces time away from work
- Eliminates the need to coordinate large group training dates
- Allows employees to complete training at their own pace
- Maintains compliance with certification requirements
- Provides flexibility for multiple shifts and departments
We work with healthcare facilities, schools, childcare centers, home health agencies, manufacturing companies, and other organizations throughout Indiana to provide flexible certification solutions.
Scheduling Your Skills Check-Off Appointment
Scheduling your appointment is easy.
Simply visit our website and select the Appointment tab to choose a time that works best for you.
You can learn more about available appointments and schedule your skills session by visiting our Appointments for Skills Check-Off page.
Before scheduling, be sure you have completed the online portion of your course and have your completion certificate available. If you are unsure whether your online course qualifies, our team is happy to help verify it before you schedule.
Ready to Complete Your Certification?
Don’t let a busy schedule keep you from getting the certification you need.
Whether you’re a healthcare provider needing BLS, an employee completing workplace CPR training, a teacher renewing certification, or an organization looking for a flexible training solution, RESQ & Arise Safety and CPR Training makes the process simple and convenient.
Complete your online training on your schedule and let us help you finish the hands-on portion with a personalized skills check-off appointment.
Schedule Your Skills Check-Off Appointment Today
Visit our website to book your appointment:
Or schedule directly at:
www.ResqTraining.com/appointments-for-skills-check-off/
Questions? Contact our office at (317) 786-7260 or email info@ResqTraining.com. Our team is happy to help you find the right course and get your certification completed quickly and conveniently.
Get Certified on Your Schedule
Blended learning offers the flexibility today’s students and professionals need without sacrificing the hands-on practice required for quality training.
Whether you are completing BLS, CPR/AED, First Aid, or First Aid CPR AED certification, RESQ & Arise Safety and CPR Training makes it easy to complete your skills check-off at a time that works for you.
Our experienced instructors provide personalized guidance, hands-on coaching, and a supportive learning environment to help you feel confident in your skills and prepared to respond when every second counts.
Trained and Prepared… When Seconds Count!